
Have you ever experienced the frustration of receiving a notification that your cloud storage is full? For many of us, this inevitably leads to the reluctant decision to pay a recurring monthly fee simply to maintain access to our own personal files. There is a growing sentiment that something fundamental just does not feel right about surrendering all of our personal and professional data into the hands of massive technology companies. When you rely on these corporate ecosystems, you are essentially paying monthly "rent" for digital storage space that you do not genuinely own or control.
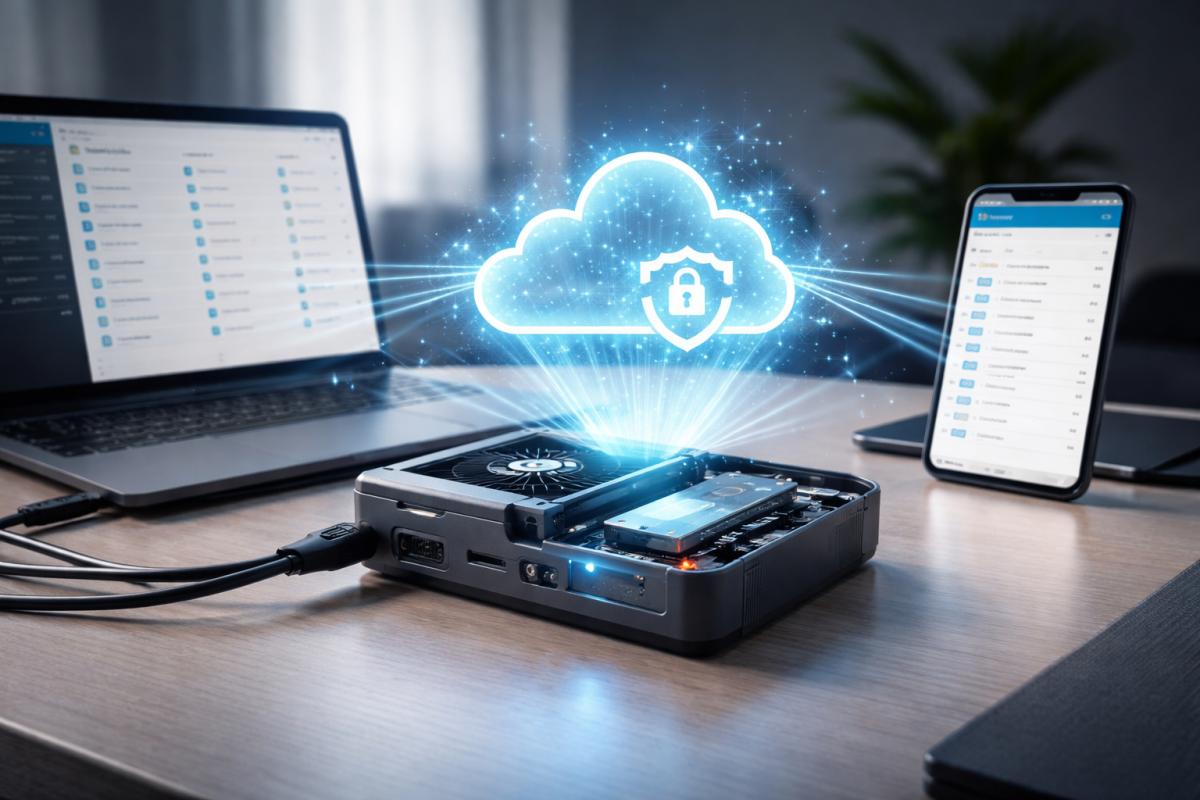
Fortunately, there is a powerful alternative. You can completely stop paying these fees and put your data back into your own hands by setting up a Raspberry Pi 5 with Nextcloud and Tailscale. This powerful combination turns a compact, single-board computer into your very own private cloud storage server. Just like commercial solutions such as OneDrive or iCloud Drive, this custom setup syncs your data seamlessly across all your devices and integrates directly into the native file system of your computer or smartphone.
Key Benefit: Once the hardware is set up, you can access your files securely from anywhere in the world with zero ongoing subscription costs.
Part 1: Gathering Your Hardware Arsenal
The Core System
- Raspberry Pi 5 (4GB or higher): The main computer running your private cloud.
- Active Cooling Fan: Prevents overheating and ensures stable long-term performance.
- Micro SD Card: Required for installing the operating system initially.
- 27W USB-C Power Supply: Provides sufficient and stable power.
The Storage Upgrade
- M.2 NVMe Drive: High-speed primary storage for your files.
- NVMe HAT for Pi 5: Expansion board that enables NVMe connectivity.
Enclosures and Protection
- Bumper Case (Optional): Protects exposed components.
- All-in-One Case (Example: Argon Neo5): Integrated cooling and NVMe support.
Hardware Summary Table
| Component | Purpose | Required |
|---|---|---|
| Raspberry Pi 5 | Main server hardware | Yes |
| Micro SD Card | Initial OS installation | Yes |
| NVMe Drive | Primary storage | Recommended |
| Cooling Fan | Thermal management | Recommended |
| NVMe HAT | Connect NVMe to Pi | Yes (for NVMe) |
Part 2: Assembling the Hardware
- Attach the cooling fan securely using mounting pins.
- Install the bumper or protective case if available.
- Mount the NVMe HAT using standoffs and screws.
- Insert the NVMe drive into the HAT and secure it.
Once assembled, your Raspberry Pi hardware is ready for operating system installation.
Part 3: Flashing the Operating System
Insert the micro SD card into your computer and open the Raspberry Pi Imager. Configure the following:
- Select device: Raspberry Pi 5
- Select OS: Latest 64-bit Raspberry Pi OS
- Select storage: Your micro SD card
- Set hostname (example: pcloud)
- Configure username and secure password
- Enter Wi-Fi credentials
- Enable SSH
Click Write and wait for the process to complete.
Part 4: Initial Boot and SSH Connection
- Insert the SD card into the Raspberry Pi.
- Power it on and wait a few minutes.
- Open Terminal or Command Prompt.
- Connect using:
ssh username@hostname.local
Enter your password to gain remote control access.
Part 5: Cloning the System to NVMe
To improve performance and reliability, clone the OS to the NVMe drive.
- Install rpi-clone tool.
- Run cloning command:
sudo rpi-clone nvme0n1
- Open configuration:
sudo raspi-config
- Go to Advanced Options
- Select Boot Order
- Choose NVMe boot priority
Shutdown, remove SD card, and reboot using NVMe.
Part 6: Installing Nextcloud
Nextcloud provides the private cloud interface and file sync system.
- Install Snap:
sudo apt install snapd -y
- Install Nextcloud:
sudo snap install nextcloud
- Find your IP address:
ifconfig
Open the IP address in your browser and create your admin account.
Part 7: Installing Tailscale
Tailscale enables secure remote access without port forwarding.
- Install Tailscale using official script.
- Start service:
sudo tailscale up
Authenticate using your account and confirm the Raspberry Pi appears in the dashboard.
Part 8: Bridging Nextcloud and Tailscale
Nextcloud must trust your Tailscale domain to allow secure external access.
- Find your Tailscale DNS name (.ts.net).
- Add it to Nextcloud trusted domains configuration.
- Restart services if necessary.
This enables secure global access to your private cloud.
Part 9: Connecting Your Devices
Steps
- Install Tailscale on your computer or phone.
- Install Nextcloud client app.
- Enter your Tailscale server address.
- Authorize access.
- Access files directly from File Explorer, Finder, or mobile file apps.
Features You Gain
- Automatic file syncing
- Access from anywhere
- Full ownership of data
- No monthly subscription fees
- Expandable storage capacity
Conclusion
By combining the affordability of the Raspberry Pi 5 with the power of Nextcloud and the secure networking of Tailscale, you can create a fully functional private cloud server that rivals commercial services. This setup gives you complete control over your data, eliminates recurring subscription costs, and provides secure access from anywhere in the world. Your storage capacity is limited only by the hardware you choose, and your privacy remains entirely in your hands. This is the ultimate step toward true digital independence and data ownership.


Community Insights